


Static Route Configuration on Netgear Routers
Before starting, please be advised that this setup guide is for advanced network administrators that are familiar with manual Router Configurations. It is always recommended to take a backup of your Routers current state in order to avoid future data loss in the event of a failure.
Step 1 – Router Login
Open a web browser and enter your routers IP Address into the address bar in order to access the router status page. This address is typically http://192.168.0.1 or http://192.168.1.1.
Step 2 – Add Firewall Rules
2.1. Click on “Advanced” in the right navigation pane then select “Security” and “Firewall Rules“
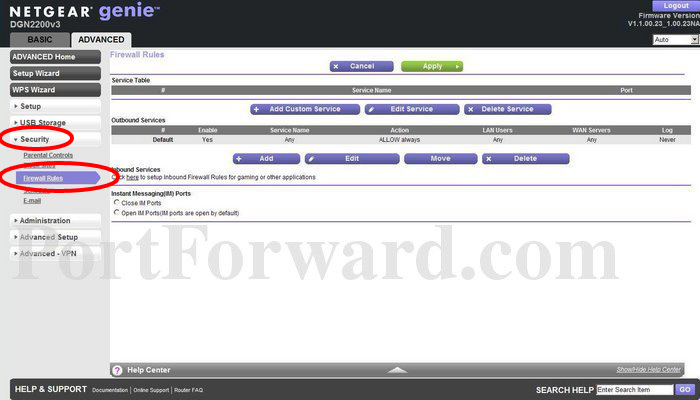
2.2. Click on “Add“
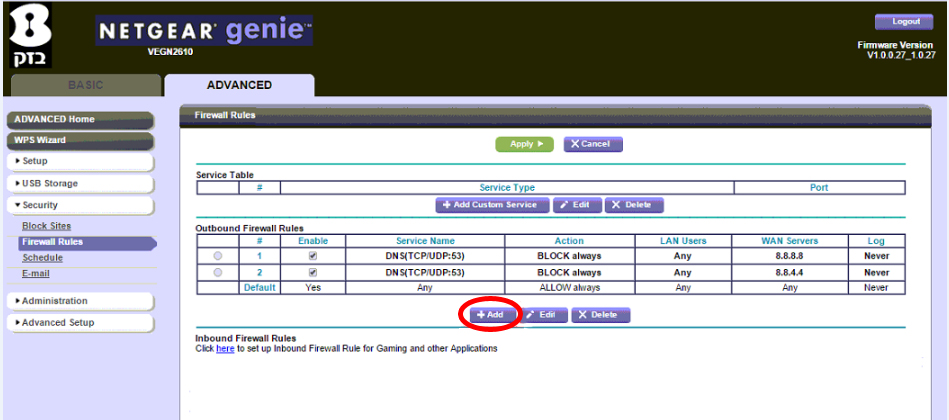
2.3. Add the following into the Outbound Firewall Rule
- Services: Any
- Action: BLOCK Always
- LAN Users: Any
- WAN Servers: Single Address
- Start: 8.8.8.8
- Log: Never
2.4. Click on “Apply“
2.5. Repeat steps 2.2 to 2.4 for the following:
- Services: Any
- Action: BLOCK Always
- LAN Users: Any
- WAN Servers: Single Address
- Start: 8.8.8.8
- Log: Never
These routes are optional and only required for users that subscribe to DNSFlex GeoScape service. Some streaming providers IP Blocks must be routed differently than others in order to function properly.
- Network/Host Address: 108.175.32.0
Subnet Mask: 255.255.240.0
- Network/Host Address: 23.246.0.0
Subnet Mask: 255.255.192.0
- Network/Host Address: 45.57.0.0
Subnet Mask: 255.255.128.0
- Network/Host Address: 185.2.220.0
Subnet Mask: 255.255.252.0
- Network/Host Address: 198.38.96.0
Subnet Mask: 255.255.224.0
- Network/Host Address: 198.45.48.0
Subnet Mask: 255.255.240.0
- Network/Host Address: 64.120.128.0
Subnet Mask: 255.255.128.0
- Network/Host Address: 64.197.128.0
Subnet Mask: 255.255.128.0
Step 3 – Validation
Please complete the following tasks from a computer connected to the router to confirm the static routes are working.
- Windows: Click the Windows “Start Menu” located on the bottom left of the task bar, in the run box type “cmd“. A black box will appear, in here type: “ping 8.8.8.8“. Let the test run, once completed type: “ping 8.8.4.4“. The expected result should return a timeout error and eventually fail, if the result is different then please check your routes configuation and try the test again.
- MAC OSX: In the upper right corner of your screen, where the search function is, type in “Terminal” and open the program. A black box will appear, in here type: “ping 8.8.8.8“. Let the test run, once completed type: “ping 8.8.4.4”. The expected result should return a timeout error and eventually fail, if the result is different then please check your routes configuration and try the test again.
Note: Whenever making any manual changes to your network connectivity it is always best practice to reboot your device in order for the changes to propagate. Please proceed to reboot your Netgear Router following this tutorial. Congratulations, you are now fully setup to bypass hard-coded public DNS servers and use DNSFlex Services!