


10
Nov
How to setup DNS on your Apple TV
Comments
Before starting, please take note of your current DNS server IP’s for future reference in the event you wish to revert back to the default settings. Follow these simple guidelines in order to get your Apple TV setup with DNSFlex in no time!
Step 1 – Configure Location Settings on your Apple TV
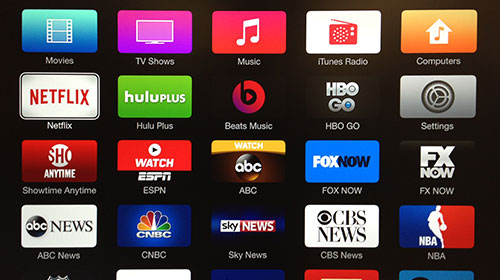
- Log into your Apple TV and click “Settings“.
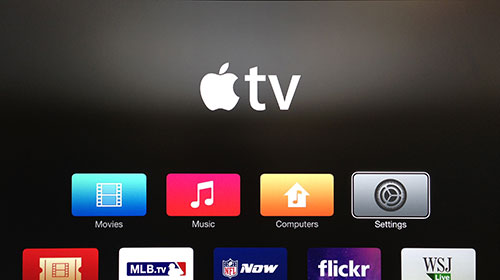
- Select “iTunes Store“
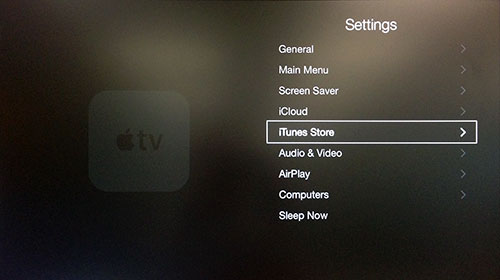
- Select “Location“
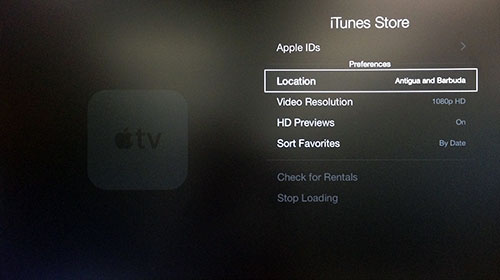
- Scroll down and Select “United States“
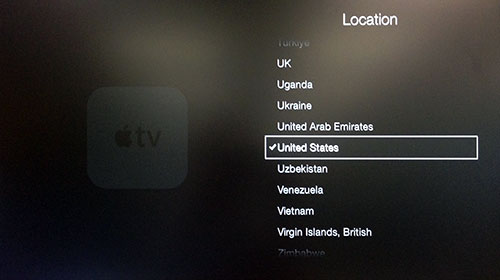
- All done! Navigate back to the home screen and the US apps will appear
Step 2 – Configure the DNS Servers on your Apple TV
Before you begin – note down the two closest DNS Server IP Addresses for “Primary DNS” and “Secondary DNS“. The DNS locator map can be found in the DNSFlex Dashboard page here.
We strongly recommend taking a backup of your current DNS settings for safekeeping in the event you no longer wish to use our service in the future.
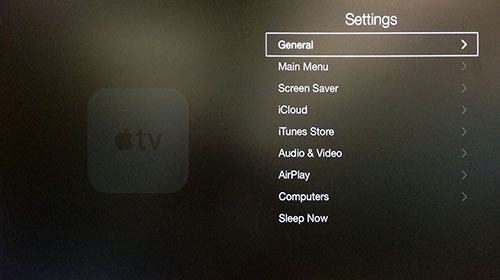
- Navigate to the Settings menu and click “General“
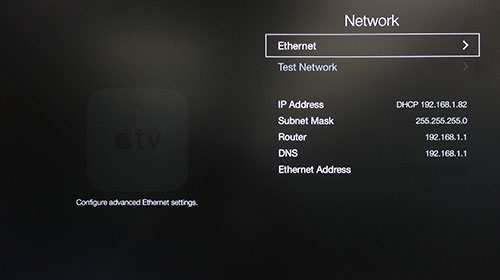
- Select “Network“

- Depending on your Apple TV network setup, select WiFi or Ethernet. For the purpose of this document we have chosen “Ethernet”
- Select the “Configure DNS” option
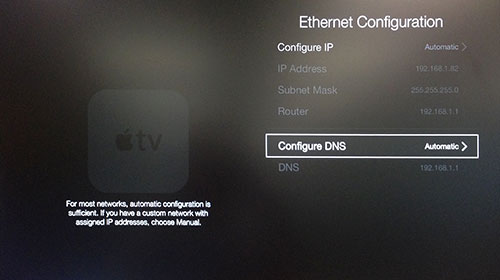
- Select “Manual“

- In the 4 boxes displayed, enter the DNSFlex DNS server IP obtained at the start of Step 2.
- You must restart your Apple TV device in order for the DNS Settings to take effect. Navigate to – Settings -> General -> Restart
That’s it, you’re done! You have successfully setup DNSFlex Smart DNS Service on your Apple TV.