


Apple Time Capsule DNS Configuration
Before starting, please take note of your current DNS server IP’s in the event you would like to revert back to the default settings. Follow these simple guidelines in order to get your Apple AirPort Extreme/Time Capsule Router setup with DNSFlex in no time!
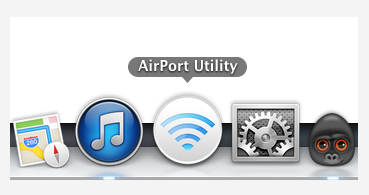
Step 1
Navigate to your Apple OSX desktop Dock and select the “AirPort Utility“
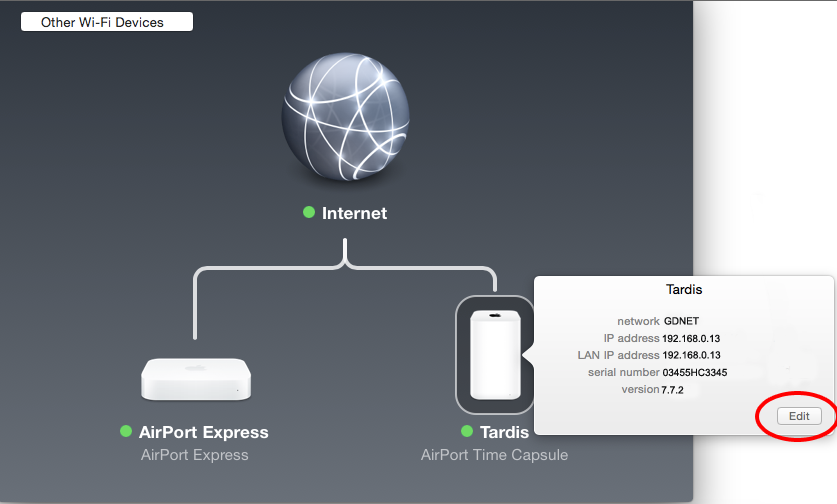
Step 2
Click on the Apple Time Capsule and click “Edit“
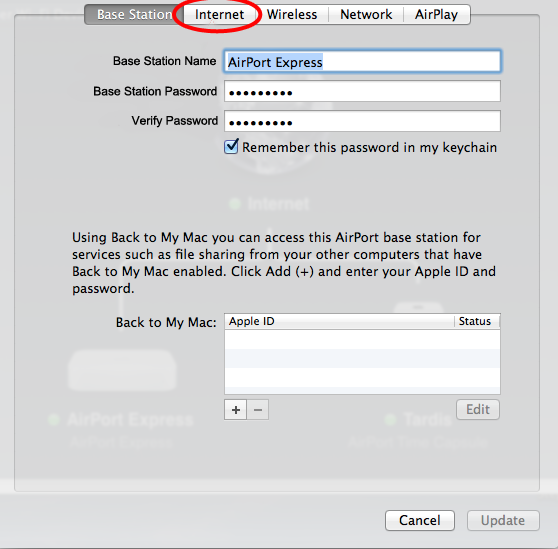
Step 3
Select the “Internet” tab from the top navigation bar.
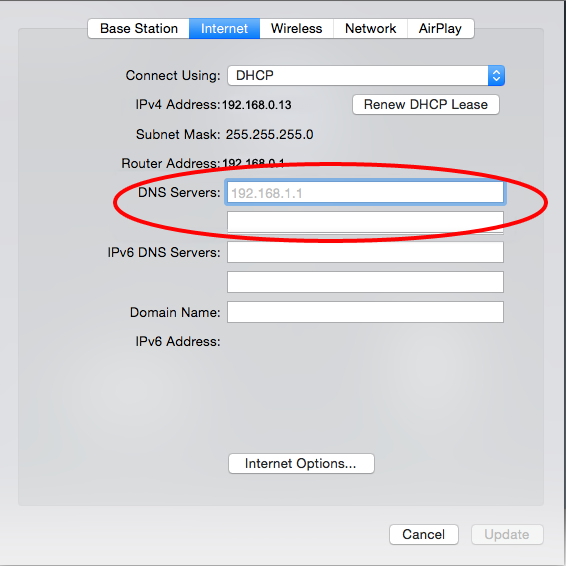
Step 4
In this section enter the two closest DNS Server IP Addresses for “Primary DNS” and “Secondary DNS” respectively. The DNS locator map can be found in the DNSFlex Dashboard page. Click Update when complete.
Step 5
Once you click on Update your Router will proceed to reboot in order for the settings to fully propagate.
Note: Once you are completed setting up DNSFlex on your Apple Time Capsule Router, please reboot the device to allow any changes to take effect. Congratulations, you have now completed the tasks involved to setup DNSFlex on your device!